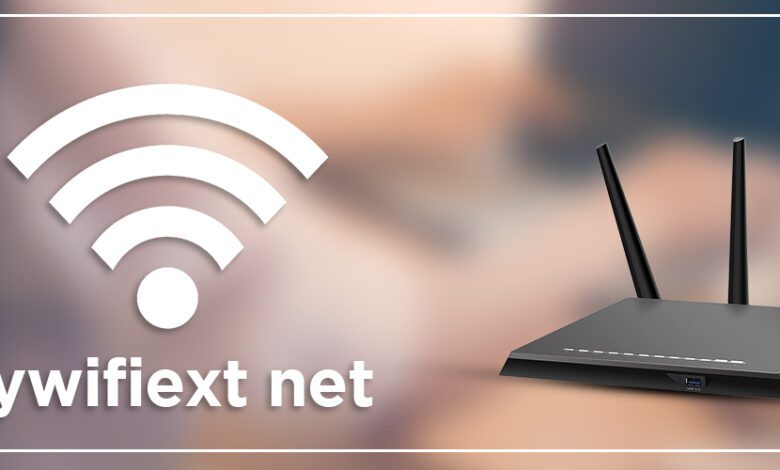
Is your mywifiext.net setup portal refusing to connect? Well, we are here to fix your issue. This detailed guide will tell you how you can set your Netgear wifi range extender in a couple of minutes. Yes, without any outside help.
Extenders are the devices that we can use to extend the network coverage area of your existing router.
This guide will also tell you some troubleshooting techniques by which you can easily convert your low network status to proper networks.
So without wasting any more time, let’s get to know what are few things that you need to consider before setting up your wifi range extender.
Before you fall directly to the mywifiext.net web page, consider these.
- Keep your extender in the same room with your router only during the installation procedure.
- Make sure that your router is active and distributing proper internet connections.
- Always use an updated web browser
- Keep your firmware updated
- Check the electricity socket and ethernet wires before starting the procedure
Once done, you are now ready to set up your Netgear wifi range extender with the help of mywifiext.net setup.
Wifi protected setup method to install your Netgear wifi range extender- mywifiext
- Plug your extender in the electric socket near your router.
- Push the start button to turn on your Netgear extender.
- Lets those LED indicators get stable
- Now look for the WPS button somewhere on your Netgear extender according to the extender model type.
- Press and hold the WPS button for 30 sec and then release it.
- Now move to your existing router and repeat the same process. Press and hold the WPS button for 30 sec and then release it.
- Once the WPS is active for both the devices, take your wifi-enabled pc and launch a web browser.
- Click on the address bar section and type www.mywifiext.net, and hit the enter key.
- You are now on a new Netgear extender setup portal.
- Click on the new Netgear extender setup icon.
- Now create a new user account by entering the on-screen information details.
- If you are using an old account, enter the admin credentials and hit the login button.
- Carefully follow the instructions shown on your screen.
- Answer the security questions because if you forget your password, you can redeem it.
- Now click on the available network icon and look for your new Netgear extender network.
- Click on it to get connected.
- Once done, follow the rest on-screen manual and save your settings.
- You have now successfully installed the mywifiext setup.
It’s time to relocate your extender to the correct location. To know where to place your extender after the installation setup, follow the below-mentioned information.
- Placing your extender at the best place is still a mystery for most users. We did advise you to put your extender in the midway of your router’s network because it is essential for your extender to receive proper signals from your wifi to fill the dead network zone area.
- Once you find the perfect place, plug your extender in the electric socket and let it get stable.
- Now take your smart device and tap on the wifi icon.
- Look for your netgear_ext network and click on it.
- Mark the remember me option so that you don’t have to connect it every time.
- Once done, run a test video to see if the internet is working or not.
- You are all set!
Conclusion
If you are still facing any issues regarding mywifiext.net, let us know, and we will try to resolve your issue ASAP.
Is this information valuable?