A Comprehensive Guide on How to Make Candle Molds
Candlemaking is an art that allows enthusiasts to infuse their creations with personal touches and creativity. At the core of this craft lies the importance of choosing or creating the right mould.

In this comprehensive guide, we’ll delve into the world of making candle moulds from scratch, empowering you to craft bespoke molds that shape wax into unique and personalized candles.
Understanding the Basics of Candle Molds
1. Importance of Molds
Candle molds serve as the vessels that determine the shape and size of the final candle. Crafting your own molds provides the opportunity to design candles tailored to your preferences and artistic vision.
2. Materials for Homemade Molds
Various materials can be used to create candle molds. Common options include silicone, latex, rubber, plastic, and even metal. The choice of material depends on factors such as the type of wax you’re using, the complexity of the design, and the number of candles you plan to make.
Types of Homemade Candle Molds
1. Silicone Molds
Silicone molds are popular for their flexibility and ease of use. To make a silicone candle mold, you’ll need a silicone mold-making kit, which typically includes silicone rubber and a catalyst. The process involves creating a mold box, mixing the silicone components, and pouring the mixture over the prototype.
2. Latex Molds
Latex molds are versatile and suitable for detailed designs. Creating a latex mould involves brushing layers of liquid latex onto the prototype, allowing each layer to dry before adding the next. Once the desired thickness is achieved, the mold is reinforced and removed for candle pouring.
3. Plaster Molds
Plaster molds are ideal for simpler candle shapes. To create a plaster mold, start by making a prototype using clay or another moldable material. Once the prototype is ready, pour a plaster mixture over it and allow it to set. Once the plaster is cured, the prototype is removed, leaving behind a negative space for pouring wax.
4. Metal Molds
Metal molds are durable and suitable for high-volume candle production. Crafting metal molds involves precision and metalworking skills. This method is often reserved for those with experience in metal fabrication.
Step-by-Step Guide to Making Homemade Candle Molds
1. Design Your Prototype
Before creating the mold, design and shape your prototype using clay, wax, or another moldable material. Ensure the prototype reflects the final shape and size you desire for your candles.
2. Prepare the Mold Box
Construct a mold box around your prototype using materials like wood, plastic, or cardboard. The mold box contains the mold-making material and defines the boundaries of the mold.
3. Mix and Pour Mold Material
Prepare the chosen mold-making material according to the manufacturer’s instructions. For silicone, mix the rubber and catalyst thoroughly. For latex, brush on layers, and for plaster, mix and pour over the prototype. Ensure the material completely covers the prototype.
4. Allow Curing or Drying
Allow the mold material to cure or dry completely. This may take several hours or overnight, depending on the type of material used. Follow the recommended curing times to ensure the mold sets properly.
5. Remove the Mold Box
Once the mold material is fully cured, carefully remove the mold box. This exposes the created mold, still encasing the prototype.
6. Remove the Prototype
Gently remove the prototype from the mold, leaving a negative space that perfectly replicates the original design.
7. Prepare for Candle Pouring
Before pouring wax into the mold, ensure it is clean and free from any residue. Use a mold release agent if needed to facilitate demolding.
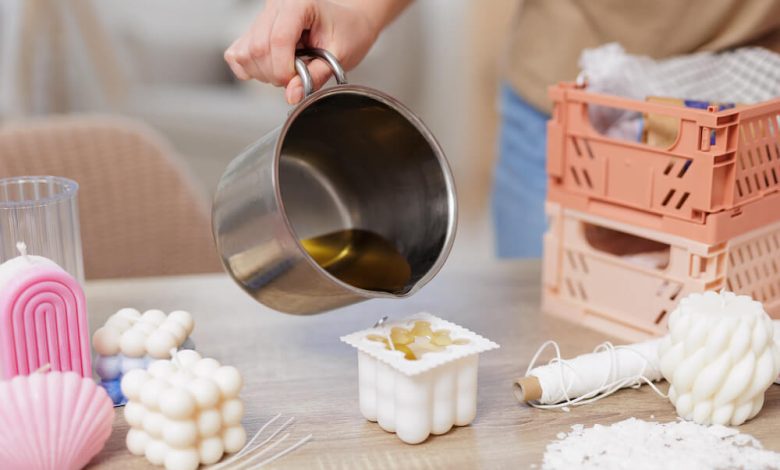
8. Pour Wax and Demold
Carefully pour melted wax into the mold and allow it to cool and solidify. Once the wax has set, demold the candle by carefully removing it from the mold. Take your time to avoid damaging the candle or the mold.
Tips for Homemade Candle Molds
1. Experiment with Materials
Try different mold-making materials to discover which one suits your preferences and the type of candles you want to create. Each material has its unique characteristics, influencing the final outcome of your candles.
2. Precision in Prototype Design
Pay attention to detail when creating your prototype. A well-crafted prototype ensures a high-quality mold and, subsequently, a beautifully shaped candle.
3. Ventilation for Certain Materials
Certain mold-making materials may emit fumes during the curing process. Work in a well-ventilated area or use a mask to protect yourself from any potentially harmful vapors.
4. Practice Patience
Allow ample time for the mold material to cure or dry. Rushing this step can compromise the quality of the mold and, consequently, the final candle.
Conclusion: Unleashing Your Creative Spirit in Candle Making
Crafting your own candle molds opens up a world of possibilities for unique and personalized candle designs. Whether you opt for the flexibility of silicone, the versatility of latex, the simplicity of plaster, or the durability of metal, the process of making candle molds is an art form in itself. Embrace the opportunity to unleash your creative spirit and shape candles that are not just illuminating but a true reflection of your artistic vision.


